Pinterest Strategy: What to Do in Your First 30 Days
28 July 2026
Starting out on Pinterest can feel overwhelming, especially when you’re not sure what to prioritize or where to begin. Pinterest has over 631 million monthly active users, and with 85% of weekly users making purchases based on pins, it’s clear the platform is working for businesses all over the world. Whether you’re a blogger, a shop owner, or an affiliate marketer, Pinterest is one of the most underrated free marketing tools available right now, and getting started doesn’t have to be complicated.
With so much conflicting information out there about what to do and when, we thought the most helpful thing we could share is exactly what we would do in our first 30 days. So grab a pen, because today we’re walking through everything, from setting up your account to creating your first pins and checking your analytics, so you can hit the ground running and start building momentum from day one.
Set Up and Optimize Your Pinterest Business Account
The first thing you need is a Pinterest business account. It’s completely free to set up, and it gives you access to Pinterest analytics, the ability to legally post affiliate links, the option to claim your website, and the option to run ads later if you want to. It also creates a niched account focused on your specific audience from the start, which is one of the strongest signals you can send to Pinterest about who you are and who to show your content to. If you already have a personal account, you can convert it in settings, but only if it’s already highly niched to your audience. Otherwise, starting fresh is what I would suggest.
Once your account is live, you’ll want to optimize your profile by placing strategic keywords in your name, bio, board names, and board descriptions. Adding keywords tells Pinterest what your content is about so it can show your account to the right people. The more specific your keywords, the better. For example, a gluten free recipes account will outperform a lifestyle account on Pinterest because Pinterest can easily identify the audience and match the content to the right searches.
After setup, create five to ten boards built around topics (or categories) you’ll actually create content for. Give each board a keyword-rich name and description, and only build a board once you’re ready to put pins in it. If you’re not sure what to name your boards yet, that’s fine, do your keyword research first and then come back to this.
And remember, all of the items mentioned above can be completed in just a few hours, so set aside some time this weekend to hit the ground running. This 30-day roadmap does not need to slowly stretch across the month. I’d suggest you get your account setup this weekend, and start pinning immediately.
If you’d prefer to watch instead of read, we’re sharing our exact 30-day plan on our YouTube channel. You can watch the video here:
Keyword Research
Keyword research is how you figure out the right words to use so Pinterest and your audience can actually find you. Pinterest is a search engine, which means the words you use in your pins, boards, and profile directly affect whether your content gets shown to the right people or gets buried entirely.
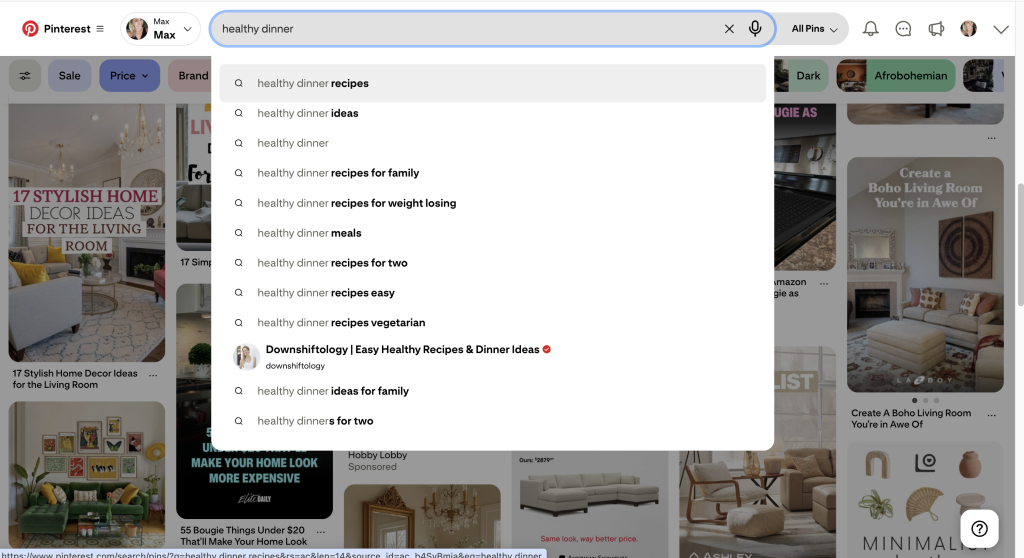
The easiest starting point is typing directly into the Pinterest search bar and seeing what autocompletes. These suggestions are what real people are already searching for, so pick three to five variations and use them naturally in your pin titles, descriptions, board names, and profile. The important word here is naturally. You do not want to ‘keyword stuff.’ Keyword stuffing, where you cram as many keywords as possible into a description, it this can actually hurt your account rather than help it. Write for people first and Pinterest second.
Pinterest Trends is a free tool worth bookmarking, especially if you want to plan ahead for seasonal content like holiday gift guides or back to school ideas. It shows you what people are searching for by season and region, which is really useful for timing your content around moments your audience is already thinking about.
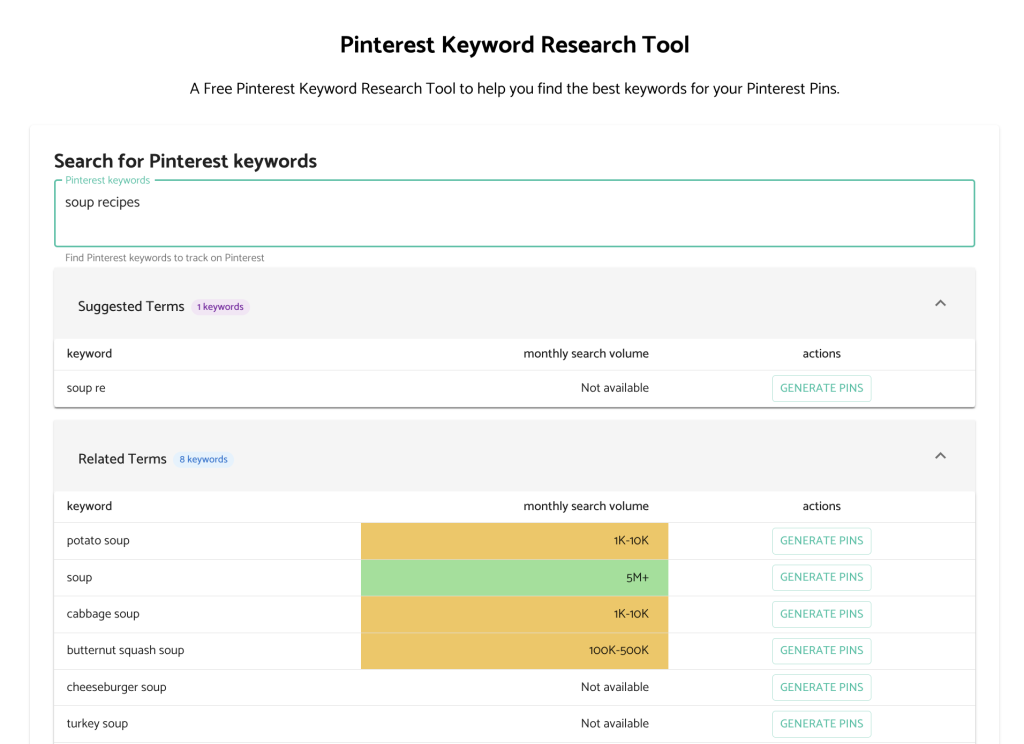
Pin Generator also has a free keyword research tool that gives you search volume and related terms. If you like having data in front of you rather than just going off gut instinct, it’s worth using alongside the Pinterest search bar method. Between the two, you’ll have a solid picture of what your audience is actually looking for.
While you’re doing your research, pay attention to the aesthetic showing up in your niche too. Notice whether top pins use text overlays or not, what kind of call to action they use, and whether images are bright and high contrast or more muted and editorial. This tells you what that particular audience responds to, and you can apply the same thinking to your own pins.
And finally, jot down five to ten keywords per topic so you have a keyword bank to pull from every time you sit down to create. The more intentional you are about keywords now, the less guesswork you’ll have to do later.
Pinterest Pin Best Practices
Now that your keywords are in place, it’s time to start pinning. Before we get into how to create a pin, here are a few best practices to keep in mind.
Aim to pin one to three pins per day, and pinning less than that is completely fine too. What you want to avoid is posting too many pins at once, because it can look like bot-like or spam behavior to Pinterest. The platform prioritizes quality and consistency over volume, so a steady, manageable cadence is always going to serve you better than going all in for a week and burning out.
What you pin depends entirely on the purpose of your account. Blog content points to your posts, products point to your shop, and affiliate marketing points to your links. The goal is always to get someone off Pinterest and onto your site or shop, so work backward from that and let your keywords support it. The best pins tend to answer a question or solve a problem someone is already searching for, rather than just looking nice sitting on a board.
For your first 30 days specifically, we recommend uploading your pins to Pinterest manually rather than connecting a third party scheduling tool right away. Pinterest tends to trust accounts more when it sees you actively using the platform yourself in the early days. You can still create pins in an editor and schedule ahead using Pinterest’s own built in scheduler, just hold off on outside tools until your account has had a chance to build some history.

Create & Post Your Pinterest Pins
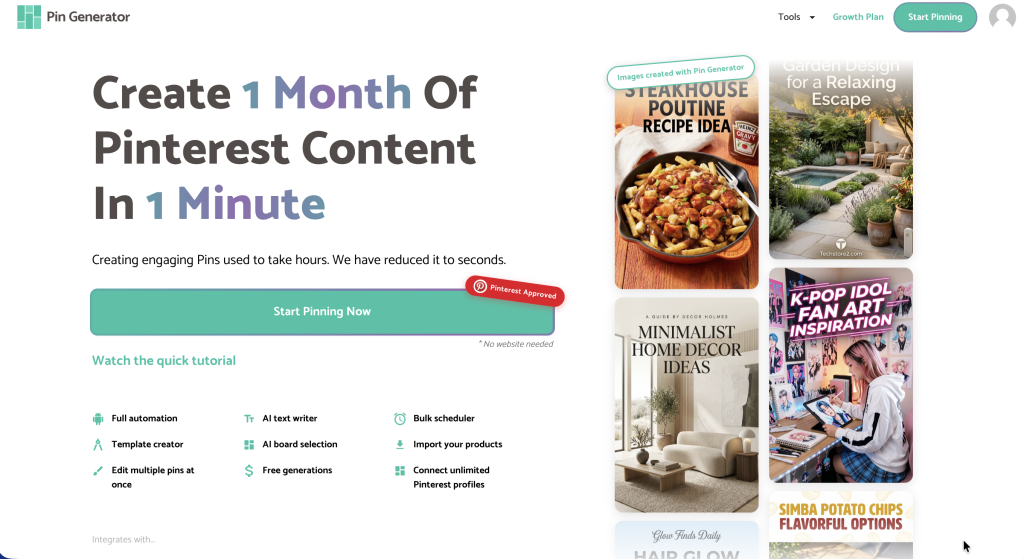
When it comes to actually creating your pins, you have a few options. You can design directly inside Pinterest using their native pin creator, use Canva or a similar photo-editing tool, or use an automation tool like Pin Generator, which is what we personally recommend.
Pin Generator is our favorite tool for creating Pinterest pins because it takes most of the manual work out of the process without taking away your control. It connects directly to your website or shop, scans your existing content, and uses that information to create branded pins that actually reflect your business, not just a generic template someone else is also using. You can choose from a variety of templates if you want more hands-on control over the final look, or use the fully AI design tool to generate more intricate, styled pins from scratch. Either way, you always review everything before it goes live.
What makes Pin Generator stand out from tools like Canva, is that it’s built specifically for Pinterest, which means the dimensions, formats, and best practices are already baked in. You’re not starting from a blank canvas and hoping it looks right. On top of that, Pin Generator uses AI to write your titles, descriptions, and alt text, connects directly to your boards, and can schedule and automate your pins on an ongoing basis so your account stays active without you having to think about it every single day. It’s the most streamlined way we’ve found to go from zero to a consistent library of on-brand pins without spending hours designing manually.
Check Your Analytics
Once you’ve been pinning consistently for about four weeks, it’s time to start paying attention to your numbers. You don’t need to obsess over analytics in your first month, but checking in around the four week mark gives you a baseline to work from and helps you start to understand what’s resonating and what isn’t.
Start with impressions, which is simply how many times your pin showed up in someone’s feed or search results. It doesn’t mean they clicked on it or even looked at it closely, just that Pinterest served it up. If your impressions are low, it usually means your keywords aren’t quite landing yet or your pin isn’t getting picked up by the algorithm, and that’s worth adjusting before anything else. If your pins aren’t getting shown to people in the first place, nothing else matters.
From there, look at clicks, which tells you how many people tapped on your pin to see it more closely or read the description. This is a sign that your image and title caught someone’s attention.
Outbound clicks are the number to pay the most attention to, because that’s the moment someone actually leaves Pinterest and lands on your site, shop, or affiliate link. That’s the whole point of being on the platform, and it’s the metric most directly tied to traffic and sales.
Saves are worth keeping an eye on too, even though they’re not the top priority. A save means someone liked your pin enough to add it to their own board, which is a good signal that your content is resonating even if they weren’t ready to click through yet. Those people sometimes come back later.
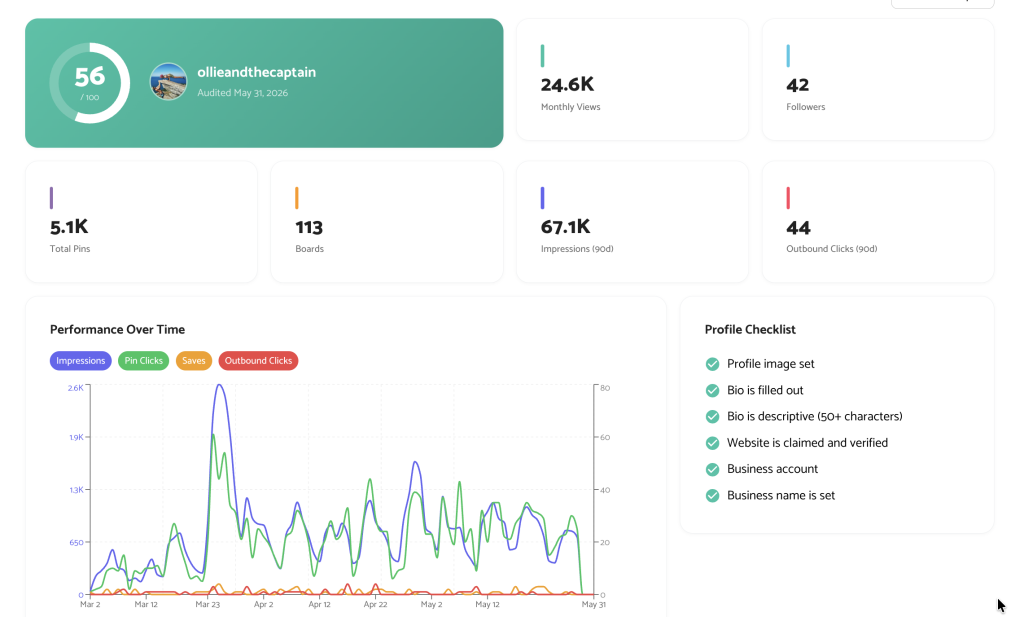
If you’d rather get a quick read on your account without digging through analytics manually, Pin Generator has a completely free Pinterest audit tool that runs through your profile and flags what’s working and what needs attention. It’s a really useful shortcut, especially in those early months when you’re still figuring out what the numbers mean.
Time to Get Started
Pinterest is a slow build, not a get-rich-quick platform. Most accounts start seeing real traction around the six to nine month mark, which means your first 30 days are really about laying the groundwork so that growth has somewhere to go. Resist the urge to make big decisions based on your early numbers. Wait until you hit the 90 day mark when you’ll have enough data to actually understand what’s working and what needs adjusting.
If you want some extra support along the way, Pin Generator has a free Pinterest mini course and a free three month growth plan that walks through everything we covered today in a lot more detail.
And if you’re curious about Pinterest pin automation, check out Pin Generator for free today.
What are you waiting for? Let’s get generating!