
How to Post a Pin on Pinterest
21 July 2026
If you’re just getting started on Pinterest and you’re not sure how to actually post your first pin, you’re in the right place. Pinterest has over 631 million monthly active users, and according to Pinterest Business, 89% of weekly Pinners use the platform for purchase inspiration. This means the people scrolling through Pinterest are already looking for what you’re selling, sharing, or creating, and a well-made pin is how you get in front of them.
So if you’re looking to use Pinterest to market your business, you’ll need to know what a pin is and how to post it. This post walks through everything you need to know, from creating your pin image to posting on desktop and mobile, and the best practices that make a real difference in how your pins perform.
Types of Pinterest Pins
Before you create anything, it helps to know what your options are. Pinterest has three main pin formats worth knowing about as a beginner.
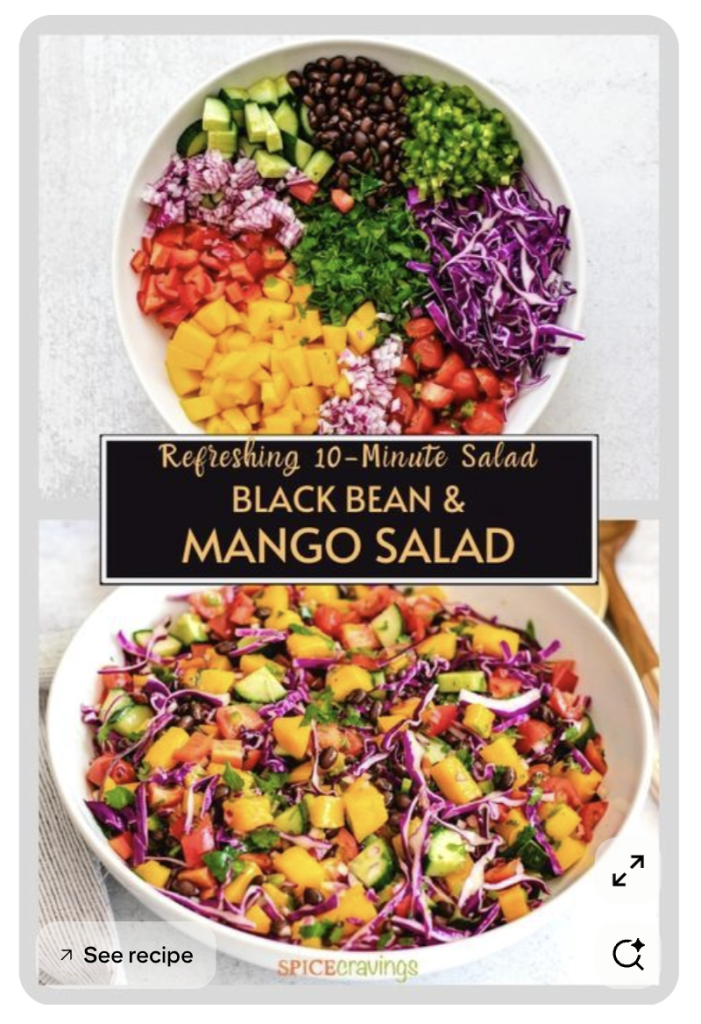
Standard pins are the most common and the best place to start. These are static images and usually designed vertically at a 2:3 ratio (1000×1500 pixels). Most of the pins you see scrolling through Pinterest are standard pins, and they’re what I’d suggest most beginners focus on first. These are also the easiest to create and scale, thus allowing you to streamline your marketing efforts and increase your visibility.
Video pins are short form video content that plays automatically as someone scrolls. If you’re already creating short videos for TikTok or Reels, repurposing them as Pinterest video pins is a really efficient way to get more mileage out of your content. Videos between six and fifteen seconds tend to perform best.
Carousel pins let you upload between two and five images in a single pin that people can swipe through, and these typically work well for step by step tutorials, product showcases, or before and after comparisons.These are a little more complex to create, so I would focus on standard pins first, but know that carousels are an option.
And if you’d prefer to watch this as a video walkthrough, we’re sharing all of this information on our YouTube channel. You can watch the video here:
How to Create Your Pin Image
Before you can post anything, you need an actual pin image or video to upload. Like I mentioned before, a standard pin is often a 2:3 ratio at 1000 x 1500 pixels (vertically), and this can be a full-size image or a template that includes multiple images and text.
There are a lot of ways to create and edit images for your pins. For example, you can use Canva, Photoshop, an AI image generator, or even a basic editing app on your phone. Whichever tool you use, your pin image should have a few key things: a clear image that shows the outcome or the idea, readable text that tells people what they’re clicking on, and some kind of call to action. If you’re looking to learn more about what makes a pin convert, check out this article for more info.
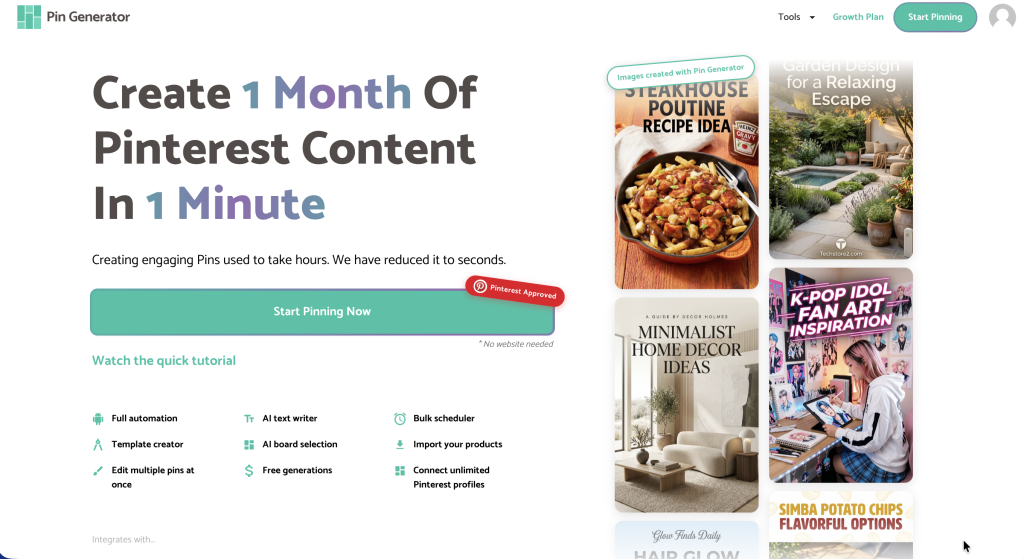
Maybe we’re biased, but the tool we personally use and recommend for creating pins is Pin Generator. It’s built specifically for Pinterest, so the dimensions and formats are already set up correctly, and it lets you create, schedule, and automate your pins all in one place using AI.
What Every Pin Needs Before You Post
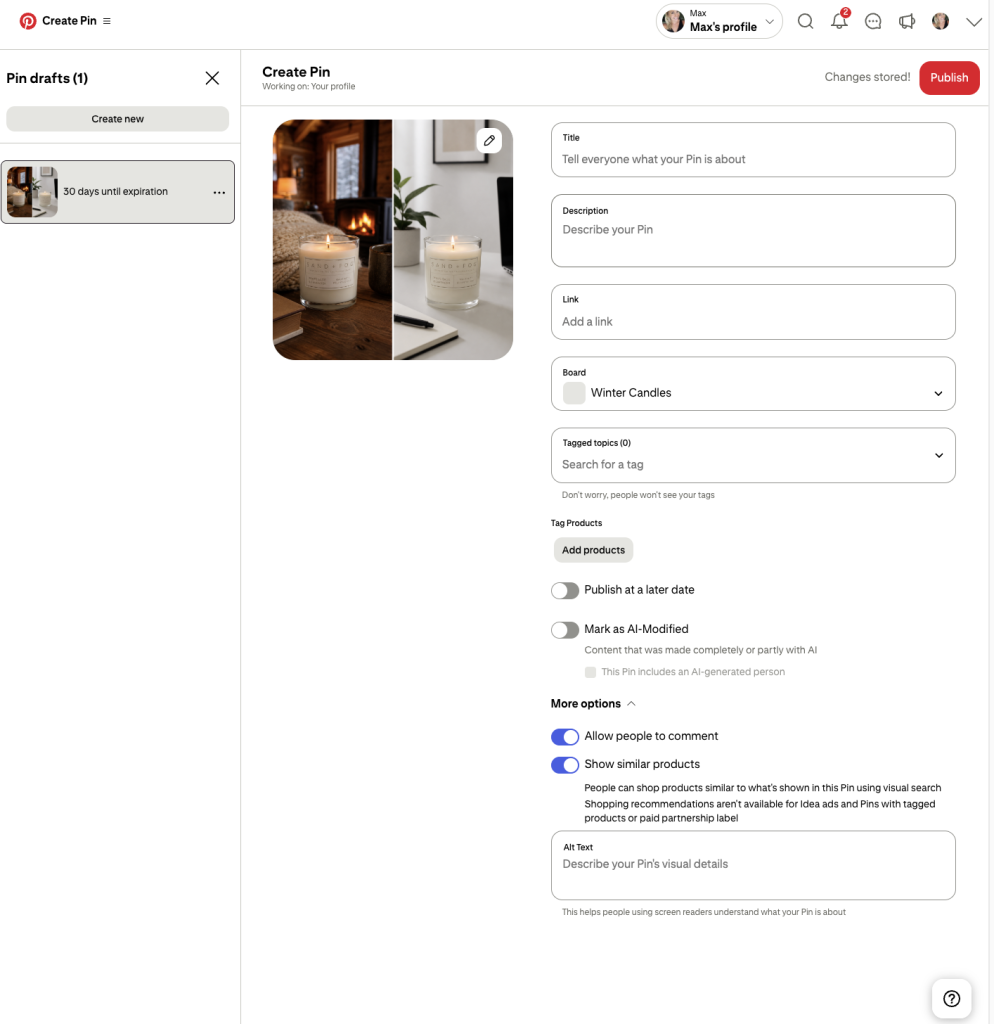
Before you publish your pin, there are a few fields you need to fill out in Pinterest or a pin editor program. We’ve found these to be the best practices for high-quality pins:
- Your image or video should be vertical at a 2:3 ratio, high quality, and easy to read on a small screen since most people are scrolling on their phone.
- Your title should be at least 40 characters and include keywords that your audience is actually searching for. Think about what someone would type into Pinterest to find your content and work those words in naturally. If you need help finding keywords, typing into the Pinterest search bar and seeing what autocompletes is an excellent way to identify relevant keywords. If you’re more data driven, you can check out Pin Generator’s free keyword research tool.
- Your description should be between 100 and 500 characters. Use your description to give more context about what the pin links to and include a few relevant keywords here as well. One important note here is that hashtags no longer work on Pinterest, so don’t waste your character count on them.
- Alt text is the written description of your image. It was originally designed for accessibility and screen readers, but it also gives Pinterest more context about what your pin is showing, so fill it out every single time.
- Your destination link is the URL where someone lands when they click your pin. Forgetting this is probably the single most common beginner mistake, and it means all those clicks go nowhere. Always double check that your link is there and that it actually works before you publish.
- Add a disclosure in your pin description if your pin is linking to an affiliate link. Something simple like “this pin contains affiliate links” or #affiliate keeps you compliant with FTC guidelines and Pinterest’s own policies.
How to Post a Pin on Desktop and Mobile
On desktop, log into your Pinterest account and click the plus sign in the top right corner, then select create pin. This will open the pin builder where you upload your image on the left and fill out all your details on the right. Choose your board first before filling anything else out, then add your title, description, alt text, and destination link. Once everything is filled in, you can either hit publish to post immediately or use the schedule option to choose a future date and time.
On mobile, open the Pinterest app, tap the plus and select pin. Upload your image from your camera roll, then fill in the same fields. The mobile interface is more condensed but all the same options are there.
Whichever device you use, once you hit publish, go back to your profile and check the board to confirm the pin posted correctly. It takes ten seconds and it’s worth doing, especially when you’re new, just to make sure the link is working and everything looks the way you intended.
Pinterest Pin Best Practices
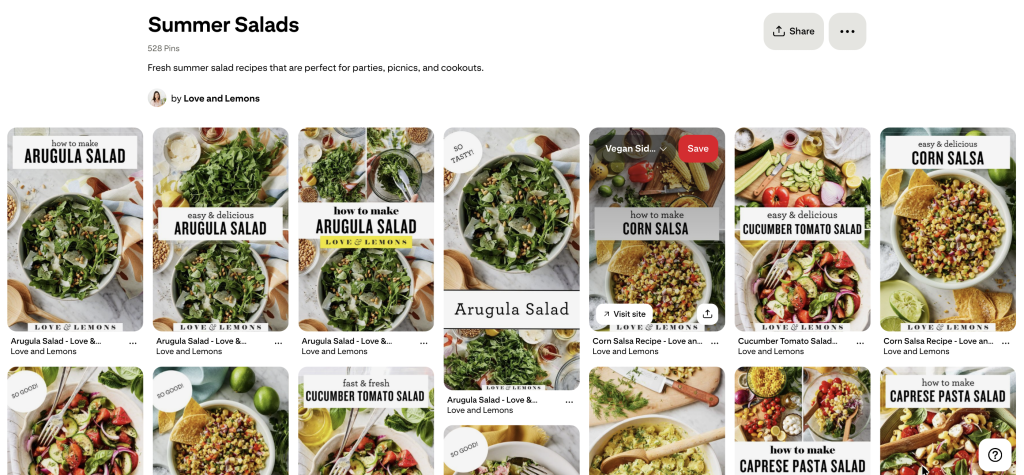
While pinning correctly is a great first step, there’s a few best practices to keep in mind so your account gets visibility and traction on Pinterest.
- Consistency matters more than volume. Even a few fresh pins a week is better than posting a hundred pins in one day and then going quiet for a month. Pinterest rewards accounts that show up regularly, and if keeping up with that feels overwhelming, an automation tool like Pin Generator is designed to solve exactly that problem.
- Make sure every pin has a destination link. It sounds obvious but it is the most commonly skipped field and it makes your pin completely useless from a traffic standpoint if it’s missing.
- Don’t use hashtags. They used to work on Pinterest and they don’t anymore, so if you’ve been adding them out of habit from Instagram or TikTok, you can stop. They don’t help and they take up valuable description space.
- Keep an eye on your Pinterest analytics after you start posting. You’ll start to see which pins are getting impressions, saves, and outbound clicks, and that information tells you what to make more of. It takes a little time to build up enough data to see patterns, but once you do it becomes a lot easier to know where to focus your energy.
Time to Pin!
Now that you know how to post your first pin, your challenge is to create and post a pin today. Getting into the habit early is what separates the accounts that grow from the ones that go quiet after two weeks.
If you want to try out the Automation and Generate tools on Pin Generator, it is free to try and play around. What are you waiting for? Let’s get generating!