
How to Add Video to Pinterest Without Rejection
21 November 2026
A phone clip can look perfect in your camera roll and still sit on Pinterest's “Processing” screen, then appear with the subject cropped or the sound missing. That's the annoying part: a video pin isn't just a file upload. It needs to finish processing before its cover, destination link, board, and play-in-feed preview are ready to do their jobs.
Two results matter: the pin must leave processing, and it must play in the feed without black bars or a dead first frame. The reliable order is to prepare the export, publish through Create, then check the title, description, link, cover, and board before you send it live. Personal and business accounts can both publish video; a business account also shows saves and outbound clicks. Export the file before you open Pinterest.
Table of Contents
- Pinterest Video File Requirements
- How to Publish a Video Pin
- When the Upload Fails
- Habits That Help Video Pins Get Found
- Ship the Next Video on Purpose
Pinterest Video File Requirements
Prepare the export before you open Create. Use MP4 as your default: MOV and M4V can also work, but MP4 is the safer choice when you want to avoid a preventable processing problem. Export a clear, vertical video that fills the frame, with the main subject away from the edges. Pinterest may crop the edges in some placements, so text, faces, and product details need breathing room.
| Setting | Recommended | Accepted limit |
|---|---|---|
| File type | MP4 | MOV or M4V also accepted |
| Length | A concise clip suited to feed viewing | Must fall within Pinterest's current upload limits |
| Aspect ratio | Tall portrait, suited to a standard pin or full-screen viewing | Square and less-tall portrait formats may display with letterboxing |
| Resolution | Clear, high-definition export | Avoid very low-resolution footage |
| File size | Keep the file compact for a smoother upload | Stay within Pinterest's current maximum |
| Codec and audio | H.264 video with AAC audio | Use a compatible video and audio export |
| Cover | Custom still from a clear frame | Auto-selected frame if you skip it |
For a standard pin, compose the clip as a tall portrait. A full-screen vertical composition is another good fit. Square and less-tall portrait clips can be usable, but they're more likely to show empty bars or lose space to cropping. If you're also making still pins, the Pinterest pin dimensions guide can help you keep those designs in the right shape.
Export for the feed, not just the camera roll
A video that looks sharp on a large editing screen can become muddy after upload if the original footage is soft or heavily compressed. Use a high-definition export when possible, and don't try to rescue a blurry source clip by enlarging it. That usually makes the blur more obvious, not less.
Keep the file manageable. A huge export takes longer to upload and gives a dropped connection more time to spoil the attempt. If the clip is longer than it needs to be, cut dead air and repeated shots before exporting. For sound, use AAC and play the exported file locally. That catches a muted track or an audio setting your editor didn't carry through.
Choose the cover before you publish
The cover is part of the pin, not a decorative extra. An automatic frame can land on a fade, a blurry transition, or the moment before the subject appears. Pick a sharp frame with the subject visible and any words comfortably inside the safe area.
If one row in the table doesn't describe your export, re-export before you upload. Processing can take time, but it won't fix the shape, quality, or audio settings of the file you gave it.
How to Publish a Video Pin
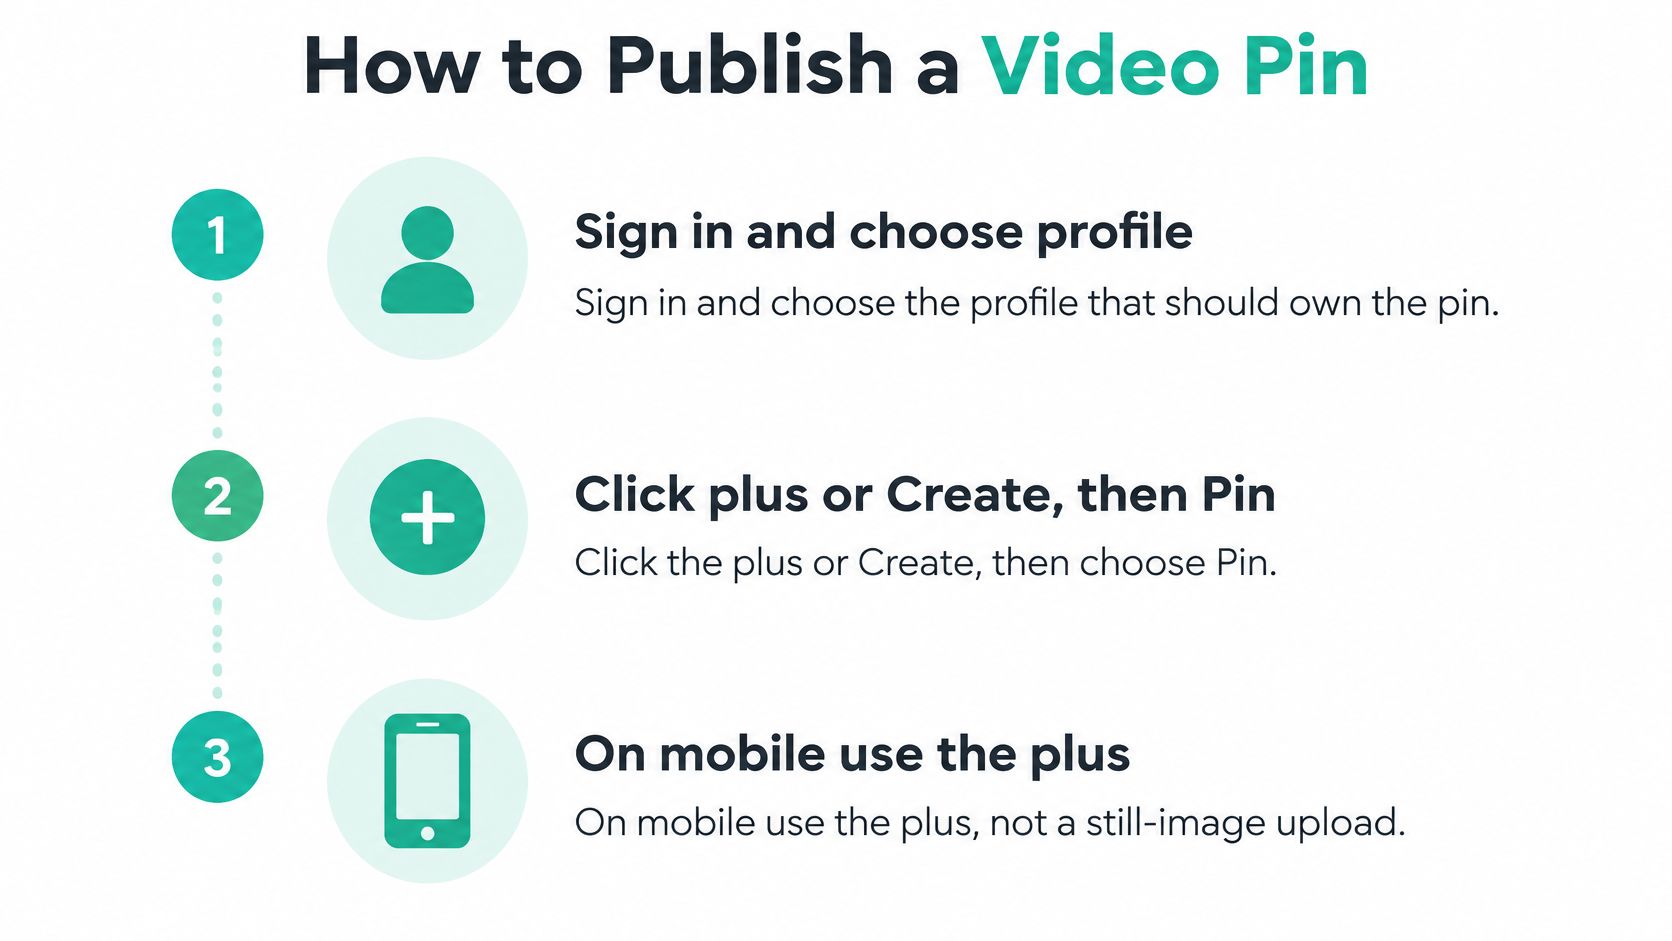
Use one routine on desktop and mobile, but start with the profile you want to publish from. The wrong profile can put the pin, its saves, and any clicks somewhere you weren't checking.
Sign in and choose the profile. Confirm that the selected Pinterest profile should own the pin. This matters especially if you manage both a personal profile and a business account.
Open the pin creator. On desktop, click the plus or Create, then choose Pin. On mobile, tap the plus and choose the pin-creation option. Don't use a still-image upload route for a video.
Upload the video. Drag in the MP4 on desktop or tap to upload it on mobile. Let the progress bar finish. Don't refresh the page or close the app mid-upload; starting over doesn't make the connection any steadier.
Check the preview and cover. Play the preview with sound and check that the full subject is visible. Choose a sharp frame from the filmstrip, or upload a still image if that option is available. Keep the subject and any cover text inside the safe area. A fade from black is a poor cover even if it was the first frame your editor rendered.
The publishing path is easier to follow when you keep the first decisions in order.
Write the title. Lead with the search phrase someone would use, then make the promise clear. “Small kitchen pantry makeover” tells a viewer more than a file name like “final_edit_3.” Keep the wording concise and make sure the clip delivers what the title promises.
Describe what happens. Write a couple of short sentences about the content and who it's for. Use natural topic words where they belong; a block of repeated tags reads like a block of repeated tags. Add alt text that describes the action in the video, such as a cook stirring sauce into a pan, rather than repeating the title.
Add the destination URL. Link to the relevant blog post, product page, or signup page. A pin without a destination can still be saved, but it won't send a visitor to your site. Check that the URL opens the intended page before publishing.
Choose the board. Pick one board that accurately describes the topic, then add a section if it helps organize the board. Skip a secret board if you want people to find the pin, and avoid dumping it into a board called “Videos.” A topical board gives both people and Pinterest a clearer sense of where the pin belongs.
Review and publish. Check the title, description, destination, cover, and board together. Publish or schedule the pin, then open it after processing and confirm that it plays. The extra tap to play the published pin is the one that catches a silent track or a cover that looked fine only in the editor.
When the Upload Fails
A pin that stays on “Processing” much longer than the clip takes to play is often dealing with a large file, a dropped connection, or an awkward codec. Wait once to give the upload a chance to finish. If it still stalls, export a smaller H.264 MP4 and try that version instead of uploading the same file again.
| What you see | Usual cause | First fix |
|---|---|---|
| Stuck on Processing | Huge file, dropped connection, or odd codec | Wait once, then re-export a smaller H.264 MP4 |
| Cropped or letterboxed | The frame shape doesn't suit the placement | Re-export with the subject inside safe margins |
| No sound | Muted export or unsupported audio | Re-export with AAC and test the file locally |
| No clickable link | Destination URL left blank | Edit the pin and add the destination |
| Removed or rejected | Watermark, very low quality, or a policy issue | Upload original footage without other-platform logos |
| Black or blurry cover | Auto frame landed on a fade | Upload a sharp custom cover |
Separate an export problem from an edit problem
Cropping or letterboxing usually calls for a new export, not a zoom inside Pinterest. Reframe the clip in your editing software so the subject stays visible in a vertical composition. If the source footage itself doesn't leave room to crop, you may need a new edit rather than a different upload setting.
When the sound is missing, check the exported file on your phone or computer before trying again. If it's silent there, Pinterest didn't remove the audio. Check that the track is enabled in your editing project, export with AAC, and listen to the new file locally.
A pin with no clickable link needs an edit to the destination field, not another video export. A black or blurry cover is different again: select a clear still rather than hoping Pinterest's automatic frame will change on its own.
Treat rejection as a content check
A removal or rejection can point to a heavy watermark from another platform, poor visual quality, or a policy issue. Use original footage and remove other-platform logos. If the pin still gets rejected, compare it with the Pinterest community guidelines and address the content issue before trying again.
Some fixes take one new upload; others require an edit to the footage or the content itself. Change one variable at a time. If you replace the file, cover, audio, and description all at once, you won't know which change solved the problem.
Habits That Help Video Pins Get Found
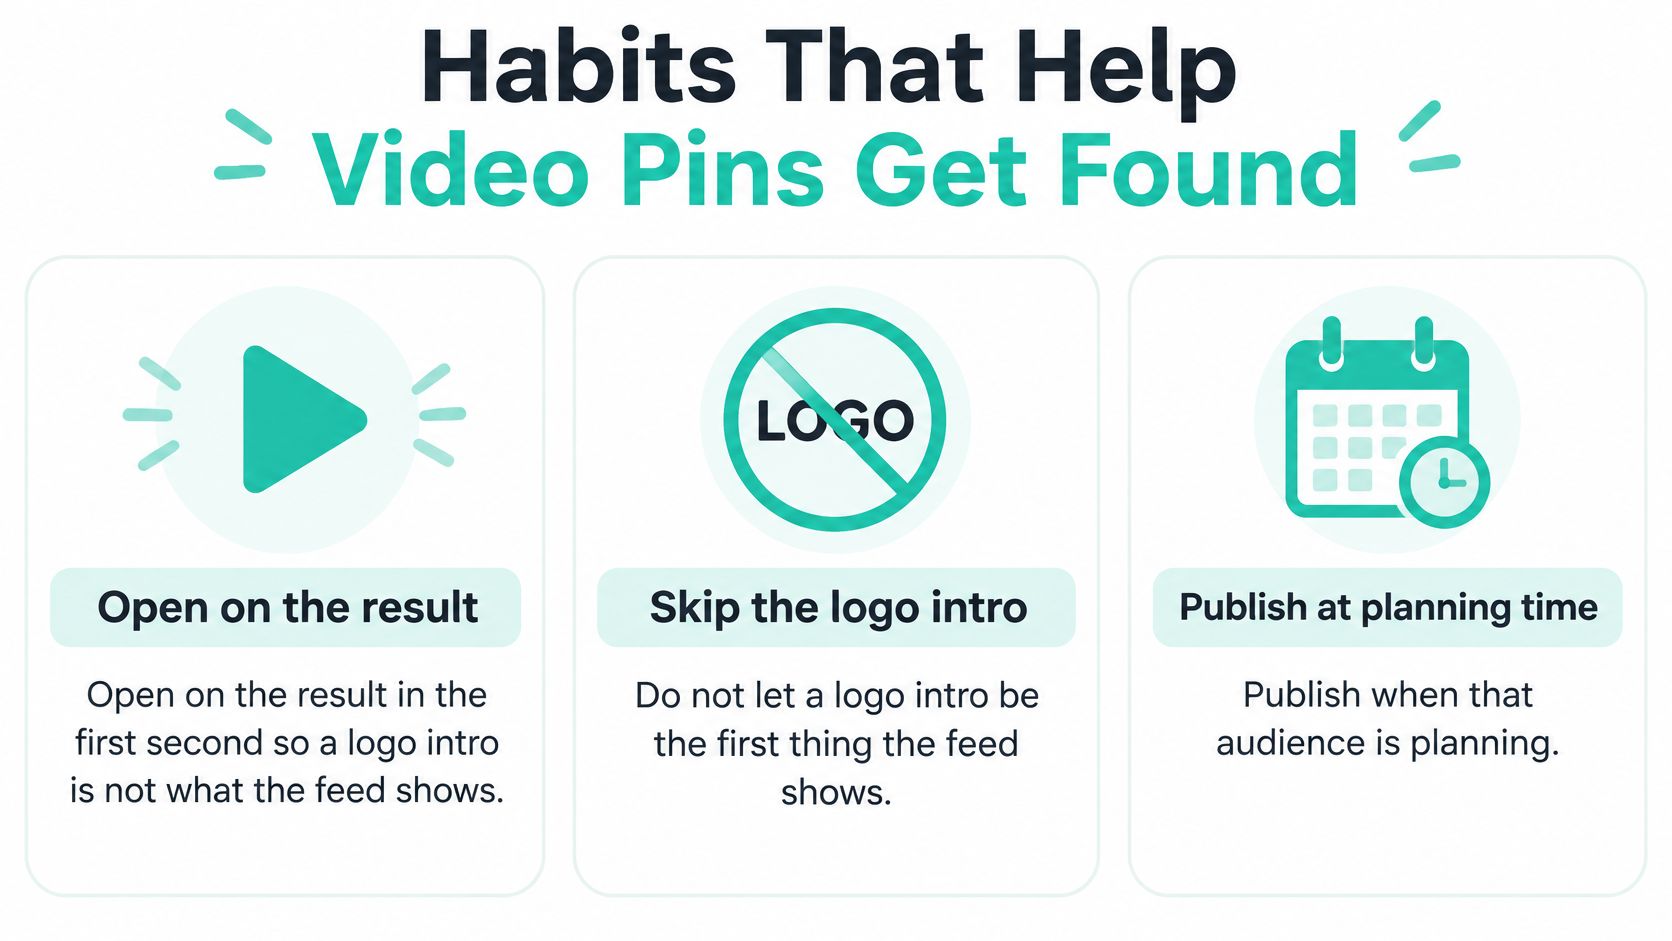
The first second earns the chance to be watched. Open on the result, the reveal, or the action the viewer came for. A logo intro uses the most valuable opening moment to show a logo, which is rarely why someone stopped scrolling.
Publish when your audience is planning the task your video helps with, rather than choosing a random time. Give similar clips room to breathe on a board, too. Near-identical covers posted close together can make your own pins compete for attention.
A fresh version should give people a reason to stop again. For one strong idea, try a new cover and a rewritten title that reflects a different useful angle. Don't just upload the identical file again and call it a new pin.
Keep the test useful: One finished pin teaches you more than a batch of untested variations.
The next day, look at the signals that match your goal. Note saves, and on a business account check outbound clicks. Use those results to choose the next clip, not to make five slight variations before you know which version people finish watching.
For example, a room-tour clip can show the finished corner first, use a cover with the sofa fully in frame, and sit on a board named “Living Room” rather than “Videos.” Film the next clip vertically with the subject centered, then choose a cover frame that makes the subject obvious. The cover earns the stop, the first second earns the watch, and the board plus title earn the search.
Ship the Next Video on Purpose
Choose one clip you've already exported. Check its file, play it locally, pick a real cover, and publish it to a board that fits the subject. Add a destination if a click matters, then open the pin after processing and test the playback before you queue anything else.
That first clean pin gives you a working pattern. For a series, keep the same profile, save a clear cover frame when you edit, and start each title with the phrase people would search. If the upload fails, change one thing and use the troubleshooting table to guide the next attempt. Don't schedule copies of a broken export.
Hand-publishing is useful while you're proving the process. Once the pin plays cleanly and you have a repeatable posting rhythm, Pin Generator's Video Pin Creation lets you create video pins, and it provides free stock images and videos when you don't yet have footage. Pin Generator is an official Pinterest partner. The immediate choice is simple: publish one prepared MP4 today, then decide how you want to handle the next ones.
Pin Generator can help with video pin creation and offers free stock images and videos for pins. Once your first upload plays cleanly, visit Pin Generator to explore support for creating and scheduling the repeats.